 US Dollars


Frequently Asked Questions and Support
Electrical
Why won't my machine turn on?
There are many reasons an electric pressure washer may not be turning on. Though many aspects are model specific, the information below can be applied to most.
NOTE: When first connected, if the trigger is not pulled, most machines will power on for 1-2 seconds before powering down. Squeeze the trigger after this to reactivate the motor. This does not apply to units without a TSS (Total Stop System).
The best practice is to squeeze the trigger while turning the power switch on, to reduce strain on the motor.
GFCI
- Plug it into a wall outlet. The light should turn on immediately.
- Push the TEST button on the bottom. The light should turn off.
- Push RESET. The light should turn back on.
If your test does not react correctly at any point in this test, then the plug needs to be replaced.
Clogged Nozzles
Does water come through when you squeeze the trigger? Even without power, you should see the water shoot 8+ feet when you have a high-pressure nozzle attached.
If your nozzle is clogged, it creates back-pressure and throws off a sensor in the machine, causing it to shut down.
WARNING: Don’t turn the machine on unless it sprays at least 8 feet with no electrical power.
How to Fix It:
- Clear the nozzle: Use the wire tool, or a thin wire, to clear the tip.
- Soak if needed: If it’s still clogged, remove the nozzle and soak the tip in vinegar for about 15 minutes.
- For lance-style nozzles, soak it tip-down in a cup and add vinegar to the cup and a little in the back side of the lance.
- Reassemble: Reattach the nozzle to the machine.
Quick safety check: Make sure the machine shoots water at least 10 feet with the power off before you use it.
Water Flow Issues
Bucket Test
Concept
To confirm that you're putting in the right amount of water, you should perform a bucket test. The idea is to get between 4-6 GPM into the machine at standard household water pressure, which is between 40-60 PSI. Note: The pressure matters less than the flow. So, if you're 10-20 PSI off but your flow is good, don't worry about it.
Procedure
The bucket test is easy. You need a five-gallon bucket, and it must be 5 gallons, and a stopwatch. Use the stopwatch to find out how long it takes to fill the five-gallon bucket with your garden hose disconnected from the pressure washer.
- Your test should be completed in the same location and elevation as your pressure washer would be used.
- If you normally run the unit hanging from a wall or similar location, you will need to complete the bucket test in the same spot on the wall.
- You should start with the water turned on as high as possible before starting to fill the bucket.
- It should take between 50 and 70 seconds to fill to the brim.
- If it’s under 50 seconds, you have too much water flow.
- You'll need to adjust the water and do the test again until you get inside the range of 50-70 seconds before trying your machine again.
Special Notes on Bucket Tests
Keep in mind that your water supply may change based on other conditions around your home. Anything that uses water could drop your flow down, so be mindful of how different things affect water flow when using the machine.
Watch for things like:
- Showers/baths
- Washing machines
- Dishwashers
- Sprinklers
- Etc.
Power Supply
Your electric pressure washer needs a lot of power to run correctly. Use a dedicated 120 V outlet with sufficient amperage for your model. Consult your product manual for specific power requirements.
1-866-235-5112
Our hours are 8 AM - 5 PM Central Time, Monday - Friday.
Other
Contact customer service with your model number handy and the machine fully set up for troubleshooting.
1-866-235-5112
Our hours are 8 AM - 5 PM Central Time, Monday - Friday.
Why does my power washer turn on for 2 seconds then shut off?
If you turn the power switch on without squeezing the trigger, a pressure washer equipped with a TSS (Total Stop System) will run until internal pressure is built up and then it will shut down.
NOTE: Best practice is to hold the trigger down while turning the power switch on.
Can I use an extension cord?
DO NOT USE EXTENSION CORDS: Plug the pressure washer directly into a properly grounded outlet.
Use an Extension Hose instead: High-pressure extension hoses are available for many models! Each adds 25' of reach from the machine to spray gun.
No. For your safety, do not use this pressure washer with an extension cord. Extension cords can cause voltage drop, which may prevent the motor from starting or running properly. This can lead to overheating, motor damage, or, in extreme cases, fire.
For your safety, we cannot recommend use of any extension cord with these electric pressure washers.
Can I use a generator?
We cannot guarantee your generator will work with our electric pressure washer or confirm that it will not cause problems or damage.
Some customers have found success with generators, but we cannot attest to what will or will not work.
There are too many generators on the market to test and we do not have the data to support the use of these tools with our electric pressure washers.
NOTE: If you experience an issue with electrical power while using a generator, please reconnect your machine to a dedicated 20-amp, 120 V outlet and test it again.
BEFORE CALLING FOR TROUBLESHOOTING ASSISTANCE: You must connect the machine to a dedicated 20-amp, 120 V outlet.
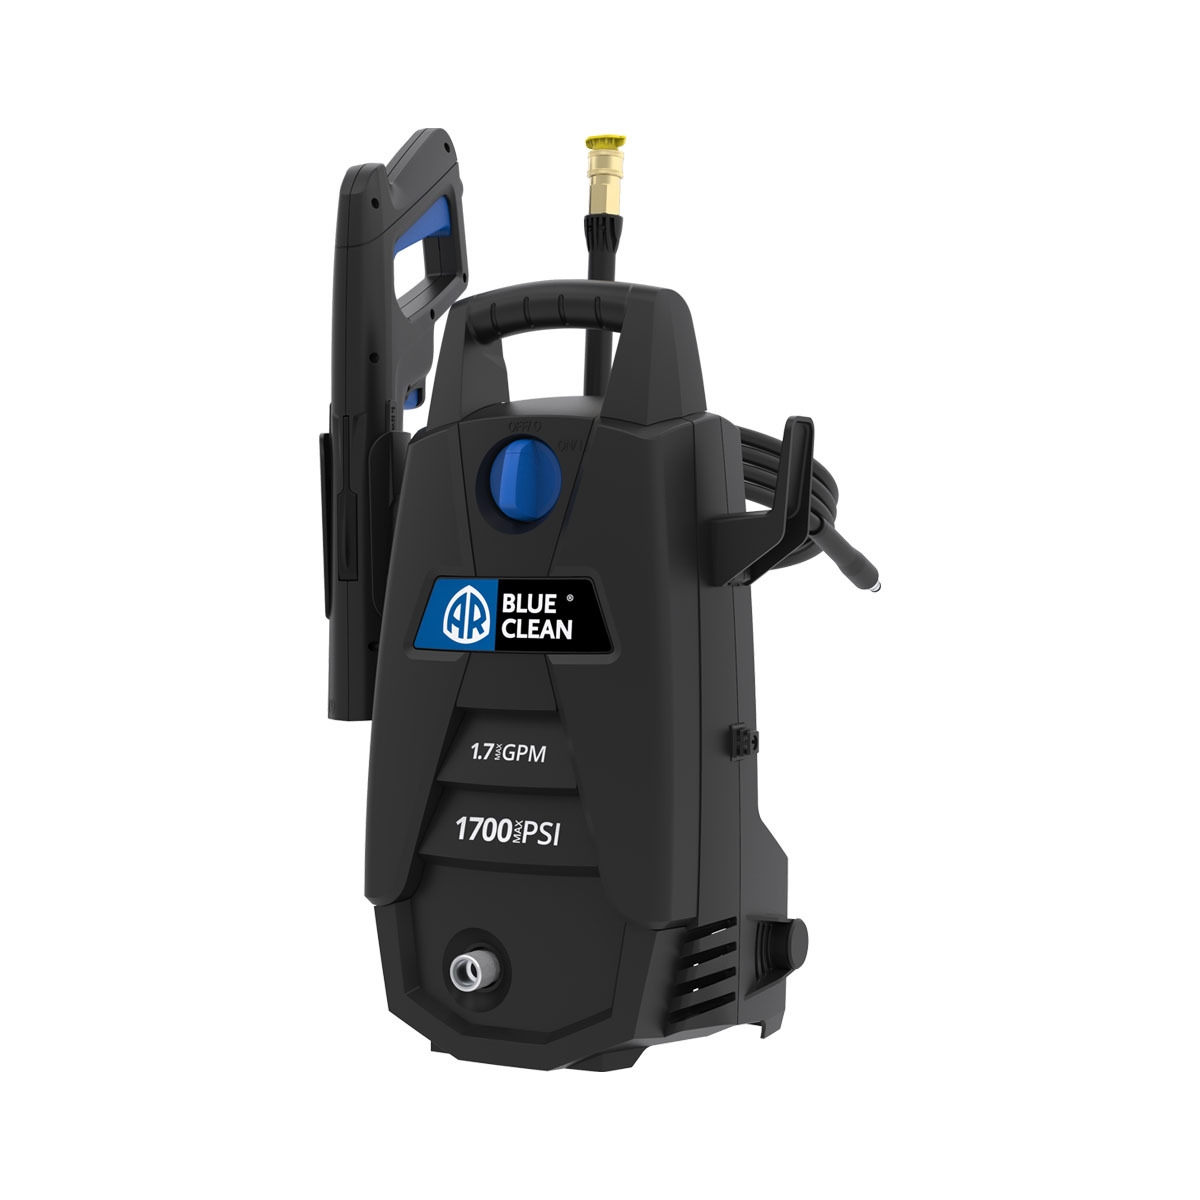
What do the 'O' and '–' symbols mean on the power switch?
The symbols – and O on power switches represent On and Off:
- – (On): The device is powered on and receiving electricity.
- O (Off): The device is powered off and disconnected from power.
While the standard “On” symbol is commonly shown as a vertical line, our machines use a horizontal line instead. The meaning is the same: the line symbol indicates the powered-on state.
Visually, the line represents a closed circuit where electricity flows, while the circle represents an open circuit where the connection is broken.
Water
Why do I not have any water coming through the machine? / Why is there no water flow when I pull the spray gun trigger?
IMPORTANT: Never power up the machine if water is not flowing all the way through the machine.
IMPORTANT: Only turn the power on after confirming water flows through the spray gun and continually squeezing the trigger until air bubbles stop coming out with the water. This typically takes 30-60 seconds.
Run through this checklist if water does not flow through when you squeeze the trigger:
- Unlock the spray gun trigger. See product manual for specific instructions.
- Check garden hose adapter filter for debris/clog.
- Check that water is turned on.
- Check hoses for kinks.
- Remove parts from the end, one by one, and check for flow after each part is removed.
- Starting with the nozzle, remove it, then squeeze the trigger.
- Continue removing parts until you find water. Once you find the water flow, assume the last-removed part is clogged.
- If you get to the machine and find no water flowing through, double check that the water is on and the garden hose adapter filter is not clogged.
- If the clog is internal to the pump, there is no fix for residential electric pressure washers. The machine must be replaced.
- Most Commercial/Pro electric pressure washer pumps can be disassembled to find a clog. Check this page for breakdowns to guide your way through disassembly and reassembly.
Can I use a tank, gravity feed, or other non-conventional water supply?
AR Blue Clean electric pressure washers must be supplied with a pressurized water feed that pushes an adequate amount of water into the electric pressure washer's inlet pipe.
The proper amount of water differs between machines, but a general rule of thumb is to supply double the maximum output of the electric pressure washer or 5 GPM for most residential machines.
Examples:
-
The Commercial/Pro machine AR630HW has a max output of 2.3 GPM. You should supply the machine with 4.6 GPM.
-
The residential machine XWM2300 has a max output of 1.3 GPM. You should supply it with 5 GPM.
In practice, 5 GPM is the best round number for these types of machines.
Can I use a siphon hose with my pressure washer?
No. While these machines may be able to draw water in under their own power for a short time, the strain will quickly destroy the pump.
Can I use a special filtration system with my pressure washer?
Whether you can use a filtration system depends on that system's flow rate.
The output of the water supply hose connected to the pressure washer's water inlet pipe must provide about twice the maximum flow rate of the pressure washer, or 5 GPM for residential machines.
Deionized (DI) water systems can also cause excessive corrosion on the components of a pressure washer. It is recommended that you only use DI systems for the final rinse and then flush the pressure washer with normal water afterward.
Why should I be cautious when using a DI (deionized) water filter with my pressure washer?
The incredible purity of deionized water will draw in impurities from the pump components, corroding the materials at a much faster rate than regular water.
WARNING: Excessive wear and damage caused by DI systems will not be covered by the warranty.
If you must use it, consider using DI water only for the final rinse.
Always flush the pressure washer with regular water after using DI water to reduce the corrosive wear it has on the pump components.
Why does my electric pressure washer leak?
Leaks at connection points
Leaks at connection points are usually caused by a missing or damaged O-ring. Most residential electric pressure washers by AR Blue Clean include a set of replacement O-rings in the box. Replacement O-ring kits are also available on arblueclean.com.
Leaks from the high-pressure hose, spray gun, or extension lance
Leaks originating from the body of the high-pressure hose, spray gun, or extension lance cannot be fixed. Check O-rings at the connections first. Otherwise, replace the part.
Leaks from the body of the electric pressure washer
Leaks originating from the body of the electric pressure washer are caused by internal components failing.
If you have a residential electric pressure washer, chances are the issue is irreparable. Please contact Customer Service for more information.
For Commercial/Pro machines, leaks from the pump are generally repairable.
Pressure
Why is my pressure low?
There are many reasons that pressure can be reduced. Most are common between both our residential and Commercial/Pro machines, but some are specific to the Commercial/Pro line.
Not sure if your model is Residential, Pro, or Commercial?
See Other ➡
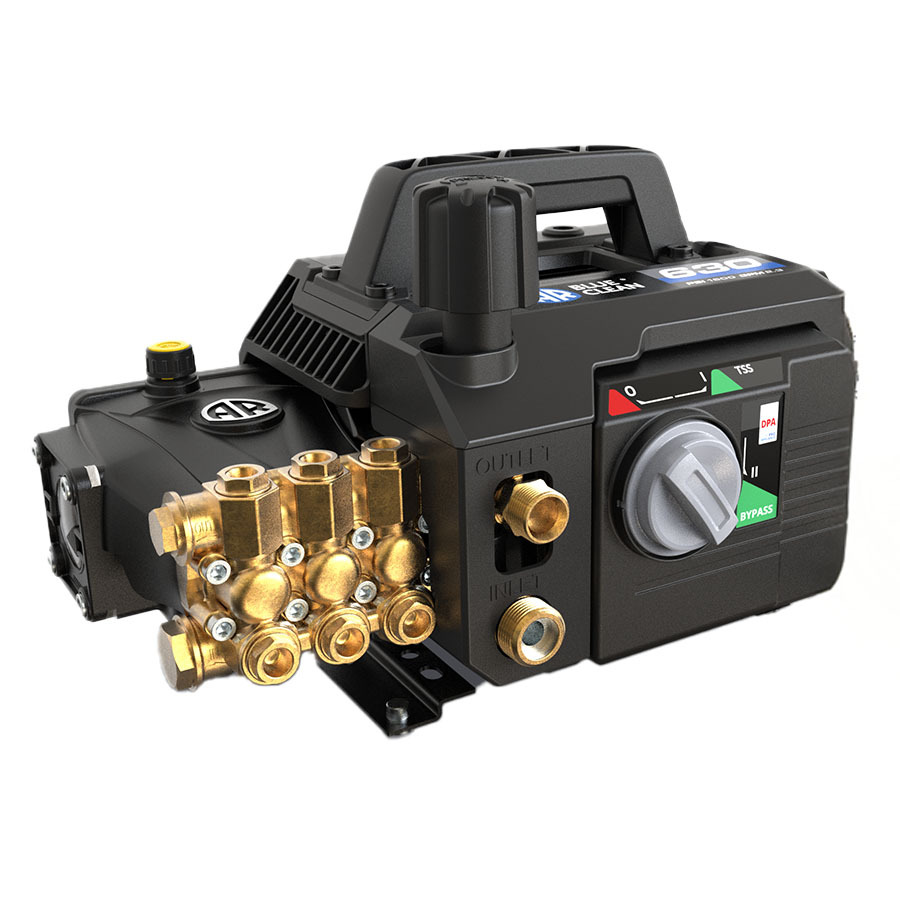
Commercial/Pro Line Specific
Unloader improperly adjusted
Turn unloader knob clockwise to increase pressure.
Dirty, worn, or damaged check valves in pump head
- Remove and inspect valves.
- Clean or replace as needed.
- Remove valve.
- Check for damage/debris.
- Clear any debris.
- Push spring plate to test function.
- Make sure plate sits and seals properly in valve cage.
- Try sucking air through the bottom to test seal.
Motor is not running
See "Power doesn’t turn on" section of troubleshooting in your product manual, or in this FAQ page.
Water Leaks
Seal any water leaks by replacing O-rings or parts as necessary.
Slight dripping leaks are not likely to cause major pressure issues. However, any leak can get worse over time. It is best to address these early to prevent damage.
Nozzle clogged or improperly sized
- Ensure the nozzle is the correct size for your model. See product manual for nozzle specifications.
- Clean the nozzle by running a thin wire through the tip, or soak in vinegar 20 minutes.
- Test the newly cleaned nozzle.
Air leak in inlet plumbing
Anywhere before water enters machine.
Eliminate air leaks in the inlet plumbing:
- Check and reconnect any loose fittings.
- Use plumber's tape on loose connections.
How can I adjust the pressure?
Pressure adjustment isn't possible on all models, but you can change the impact force on all machines by changing the distance between the nozzle and a surface.
Move closer for more force
Move away for less force
Models with an unloader knob
At the time of writing, only Commercial/Pro models have unloader knobs for pressure adjustment.
How to use an unloader knob:
Twist clockwise for more pressure
Twist counterclockwise for less pressure
WARNING: Stop twisting counterclockwise when you feel resistance! You could destroy the unloader if you go too far.
Connections
Why won't the nozzle stay attached to the end of the lance?
Quick Connect (QC) nozzles inserted into a quick coupler can come out if not properly installed.
Pull back the collar on the coupler, insert the nozzle, and release the collar. Try pulling the nozzle to test that it is fully secured.
To release the nozzle later, just pull the collar back before pulling the nozzle out.
Why did the high-pressure hose blow off the water outlet?
The hose was not properly secured to the pressure washer.
Try adding silicone lubricant to the inside of the water outlet pipe. Then push the yoke of the hose into the pipe as far as possible before screwing the swivel on.
Why can't I connect the high-pressure hose to the machine?
The O-ring may be dry, making insertion into the water outlet pipe difficult.
To make insertion easy, apply silicone lubricant to the hose tip or inside the water outlet pipe.
Can I make connections easier?
Applying silicone lubricant to either the male or female side of any connection should make it much easier to work with.
M22x15 high-pressure hose connections to the machine and spray gun can also be converted to a quick-connect style with the PW4222930-R 3/8" Hose Quick Connect Kit.
PW4222930-R will not work with any connection that is not M22x15. This includes all Commercial/Pro models, which use M22x14 or 3/8" NPT connections, rather than the M22x15 used with the residential models.
Not sure if your model is Residential, Pro, or Commercial?
See Other ➡
Using an Electric Pressure Washer
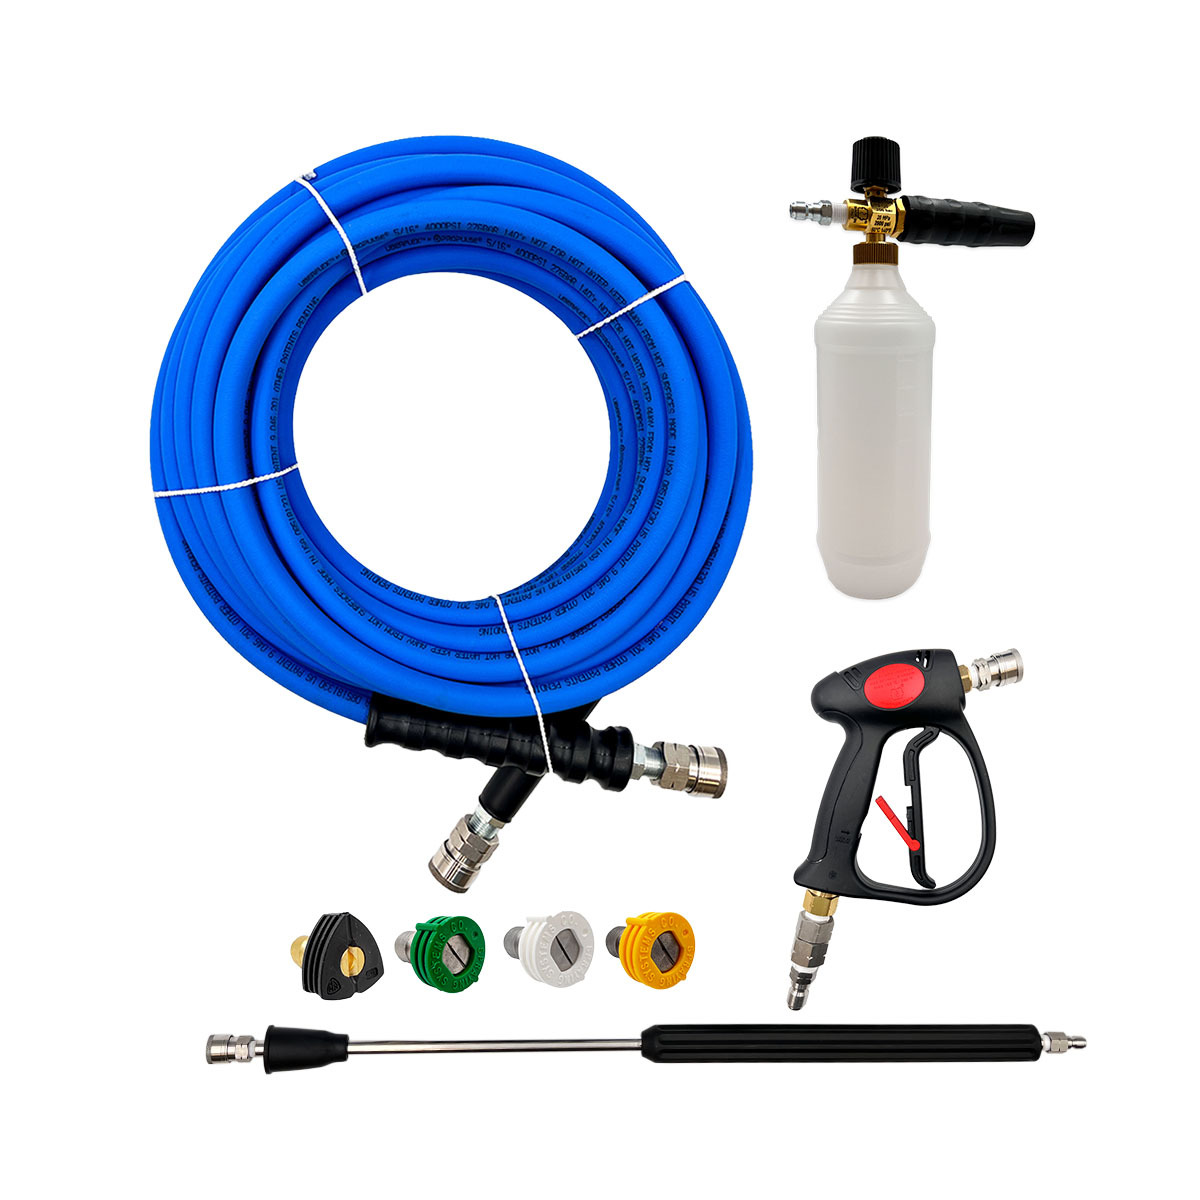
Which nozzle should I use for my job?
Short answer:
Experiment to see what works best. Don't use a 0° (red) nozzle or turbo/rotary nozzle on soft surfaces. Always start in a small, inconspicuous spot to test how a nozzle affects each surface before continuing.
In-depth answer:
While all nozzles that came with your machine will produce the same pressure, the concentration of that pressure is spread out with wider spray patterns. This means a narrow spray pattern, such as a 0° (red) nozzle, is very concentrated, while wider nozzles such as 15° (yellow), 25° (green), or 40° (white) nozzles are less concentrated and better suited for softer materials.
Rotary nozzles, also known as turbo nozzles, utilize a 0° pinpoint spray nozzle that is spun in a circle, producing a cone that provides an aggressive spray in a wide area. Our turbo nozzles spin in a 25° cone shape. Like the 0° red nozzle, this puts out very concentrated pressure.
WARNING: You should not use 0° (red) or turbo nozzles on soft surfaces. All the pressure is concentrated and can easily damage soft materials, leaving etching marks.
Remember that pressure washers are typically used with a distance of about 12 inches between the nozzle and the surface being cleaned. Getting closer will increase the impact of the water hitting the surface, and getting farther away will reduce the impact.
It is always advisable to start cleaning by testing nozzles on a surface in a small and inconspicuous area to prevent wider damage.
How far away from a surface can I be to clean effectively?
The pressure washer is most effective at 6-12 inches from a surface. Attempting to clean a surface farther away will be less effective.
You'll need to find a way to safely get the tip close enough to clean the surface to your satisfaction.
Comply with all safety warnings in your product manual.
Can I clean the upper floors or eaves of my house?
See Using an Electric Pressure Washer ➡
What’s the best way to safely use an electric pressure washer without damaging surfaces?
See Using an Electric Pressure Washer ➡
Soap and Foam Cannon Questions
What kinds of chemicals can I use?
You should only use pressure washer detergents.
WARNING: Avoid chemicals like Ammonia, Bleach, Chlorine, and others that may damage the plastic and rubber components of your foam cannon and/or electric pressure washer.
How far will my foam cannon spray?
This depends on the foam cannon and model you are using.
Residential: 5-10 feet
Commercial/Pro: 10-15 feet
NOTE: These distances assume a horizontal orientation while spraying.
Shooting up, vertically, will reduce the range of your foam cannon. It may also require more frequent refilling of the detergent due to the pick-up tube's orientation inside the bottle.
Maintenance & Storage
Should I anything differently for long-term storage?
If you'll store the machine for a month or more, whether indoors or outdoors, you should use a pump saver to protect the pump from corrosion.
Should I do anything differently after long-term storage?
Not really, but if you did not use a pump saver before storing for a month or more, it would be a good idea to do so the next time you plan to store it for a long time!
What should I know about storing my electric pressure washer safely?
Corrosion and freezing protection
The water can never be fully drained from the pump, so how you store it is very important.
Be aware of these two things:
- Storing the machine in freezing temperatures can lead to irreparable damage.
- Water left in the machine will freeze, expand, and crack the pump. Even microfractures that barely leak and aren't noticed during the first couple of uses afterward can develop into massive problems that require a full machine replacement.
- Water left inside a pump for long periods can cause corrosion and leave mineral deposits that reduce performance or cause damage.
Preventing these issues is easy.
Pump Saver will protect internal components from freezing, preserve seals and pistons, and help with hard water mineral buildup.
Outdoor Storage Risks
It is best to store indoors if possible. If storing outdoors, consider a shed or small storage container to keep it less exposed to the elements and animals or bugs.
Storing your electric pressure washer outside poses some risks and it may not last as long as one stored indoors.
Be aware that outdoor storage poses risks that may not be covered by warranty.
- Environmental Damage Potential
- Freezing temperatures will cause expanding water to crack the pump and possibly other parts
- Parts exposed to temperature variations can deteriorate over time
- UV radiation from the sun can also wear out parts and fade color
- Constant humidity can wear on the electric components
- Critter Risks
- Small bugs or animals can find their way into the inside of the housing or directly into the pump. This can lead to...
- Irreparable clogs inside the pump
- Fire risk
- Small bugs or animals can find their way into the inside of the housing or directly into the pump. This can lead to...
Can I store the power washer outside?
Yes, but with some caveats.
See Maintenance & Storage ➡ for more information!
Other
Is my model residential, commercial, or Pro?
The Pro line of machines is our commercial line, so the terms "Commercial" and "Pro" are often used interchangeably.
Residential machines are designed for light-duty use around the home, while Commercial/Pro machines are built for more frequent and intensive use. Commercial/Pro machines typically have more durable components, higher performance capabilities, and different warranty terms compared to residential models.
You can see the full list of models and their type below:
Pro / Commercial Models
- AR1210
- AR1220
- AR610
- AR610-PRO
- AR613
- AR613K
- AR620
- AR630 (v1)
- AR630 (v2)
- AR630C-PRO
- AR630-HOT
- AR630HW
- AR630HWC-PRO
- AR630HW-PRO
- AR630-PRO
- AR630TSS
- AR630TSS-HOT
- AR632
- AR635
- AR635C-PRO
- AR635HW
- AR635HWC-PRO
- AR635HW-PRO
- AR635-PRO
- AR675
- AR675HW
- AR675HWK
- AR675K
- AR767 (v1)
- AR767 (v2)
- RCA3-MP
- RCA3-PRO
Residential Models
- AR110S
- AR111S
- AR112
- AR112S
- AR114
- AR116
- AR117
- AR118
- AR118S
- AR119
- AR141
- AR142
- AR142P
- AR142S
- AR143S-Q2
- AR144S
- AR145S
- AR165S
- AR1850
- AR240
- AR240S
- AR260
- AR2N1
- AR2N1-QVC
- AR319S-Q
- AR381
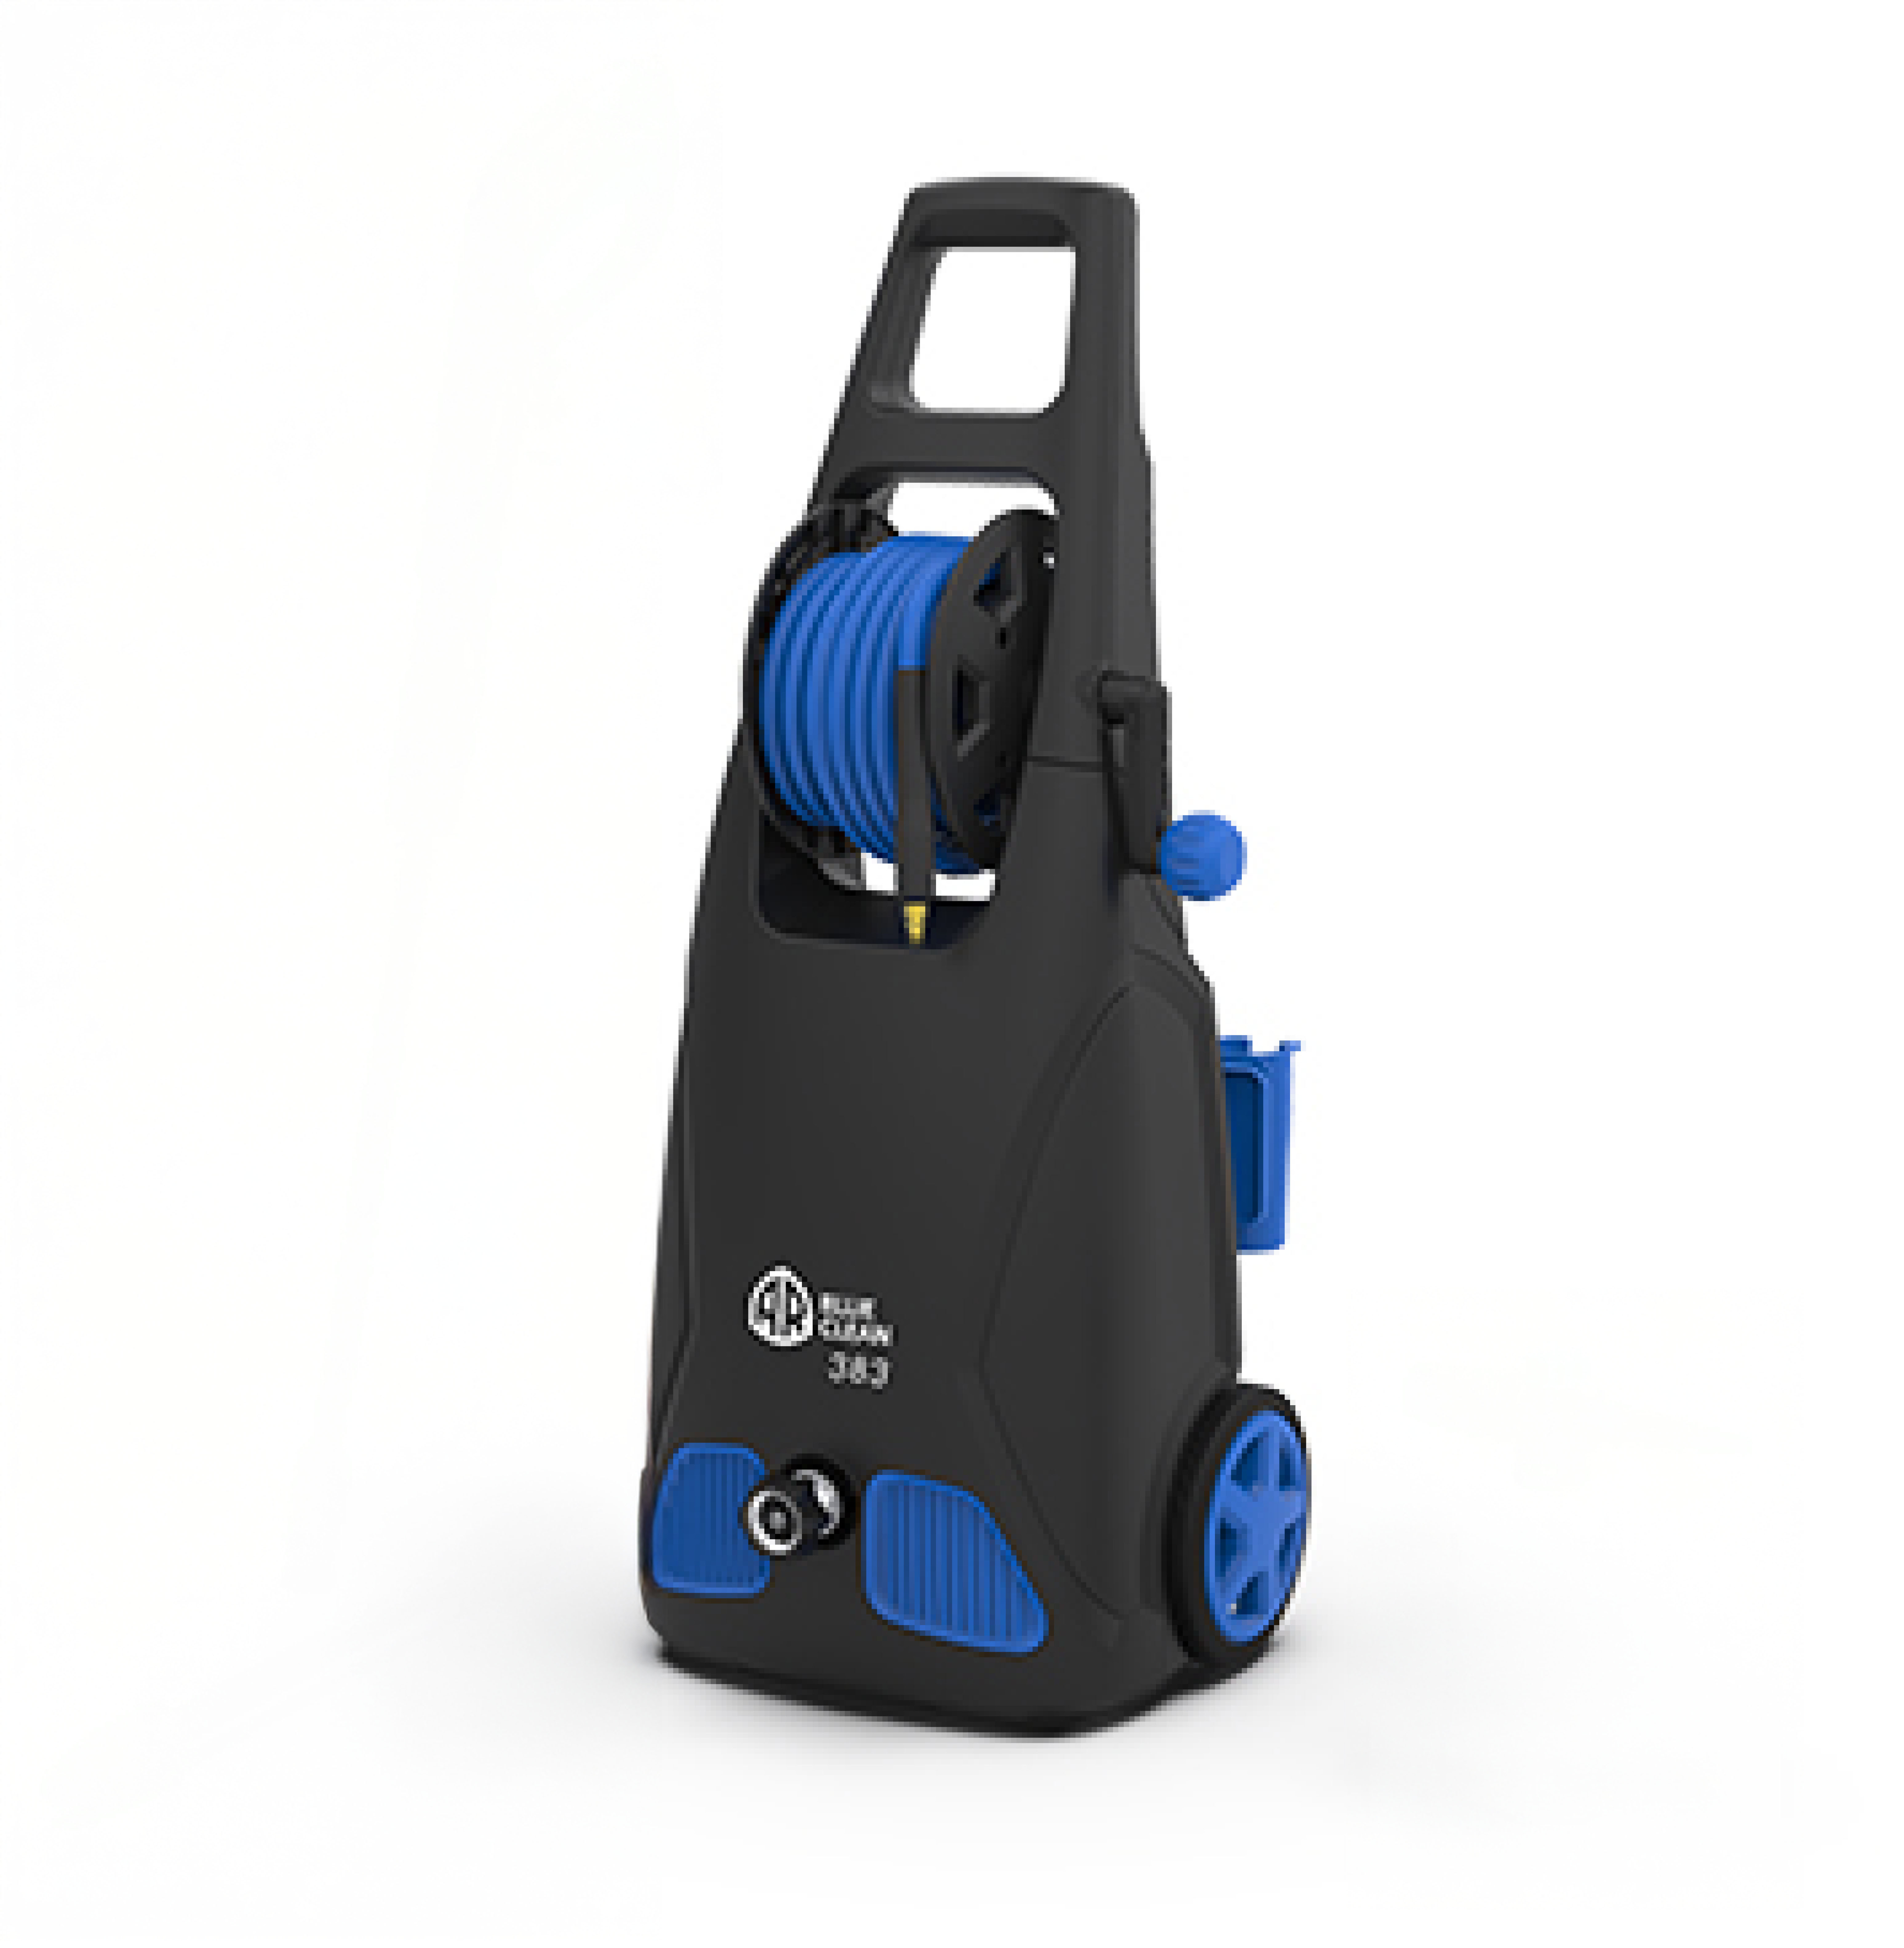
- AR383
- AR383B
- AR383L
- AR383S
- AR383SS
- AR388
- AR390
- AR390SS
- AR391SS
- AR525
- AR527
- BC111HS
- BC111HSB
- BC142HS
- BC2N1HSS
- BC2N1HSB
- BC383HS
- BC383HSR
- BC383HSB (2070 psi)
- BC383HSB (2100 psi)
- BC383HSS
- BC390HSS
- BCXP22000
- BCXP22300P
- BM2200
- BM2300
- BM2300B
- BM2600B
- BM3000
- BM3300
- BMXP32300
- BMXP32700P
- CMXTPAV1600
- CMXTPAV1800
- CMXTPAV1900
- CMXTPAV2N1
- MF2200
- MF3N12300
- MFX2U2000
- MFX2U2200
- MFX3I2700
- MFXI2500
- SHP1600
- SHP1900
- SHP2000
- SHP2150
- SHPW2000
- SLP2050
- XH2500
- XM2200
- XM2400
- XO2000
- XP22500
- XP3-2400
- XP33000
- XWM2300
- AR1500
- SLP1500
- SPEEDYWASH
- TAKE-ALONG
I have a question that is not answered here. What should I do?
Contact customer service with your model number and a concise description of the problem ready. If you have a troubleshooting question, it's best to have the machine fully set up before calling.
1-866-235-5112
Our hours are 8 AM - 5 PM Central Time, Monday - Friday.